New Delirium, Ritual, and Breach mechanic in PoE2 0.5
Background
Patch 0.5 moved several old league mechanics into larger Atlas regions. Their fragments are no longer simple tickets that always open one isolated fight.
Each mechanic now has its own progression chain:
Deliriumspreads fog across nearby maps and builds toward aSimulacrum.Ritualturns unusedTributeinto boss progress, then leads into theRite of the Nameless.Breachsends fragments throughThe Genesis Treebefore opening aBreach Domain.
The important part is knowing where each item belongs. A fragment can be valuable, but using it at the wrong stage can leave the route unfinished.
Why These Loops Matter
These systems connect ordinary mapping to mechanic-specific bosses and rewards. You can sell the access items, use them for progression, or save them for a stronger build.
This is not a profit-per-hour strategy. Prices and returns change with the market. The guide focuses on how the access chains work and when to stop.
Required Setup
| Mechanic | Requirement | Build Check | Main Goal |
|---|---|---|---|
| Delirium | Maps inside the Delirium region and enough clear speed to stay productive in the fog | Fast movement, good recovery, and reliable rare or boss damage | Build Deliriousness, create a Simulacrum, and clear its layers |
| Ritual | Access to the Ritual region around Caer Tarth | Strong close-range survival and burst damage for crowded altars | Build An Audience with the King, complete the Rite, and reach The Bodach |
| Breach | Access to The Monastery of the Keepers and The Genesis Tree | High clear speed, crowd control, and enough damage for timed waves | Turn Splinters into a Breachstone, clear the Domain, and reach Xesht |
| Loot filter | Highlight all mechanic fragments, boss keys, and progression items | Not applicable | Prevent small access items from being hidden |
| Spare maps | Keep several connected maps available around each mechanic region | Avoid dangerous layouts or modifiers your build cannot handle | Continue regional progression without breaking the route |
Do not invest heavily in all three mechanics at once. Pick one route, learn its failure points, and finish its first progression cycle before buying expensive access items.
Endgame Progression Loop
Delirium: From Grand Mirror to Simulacrum
Step 1: Kill Map Bosses Inside Delirium Fog
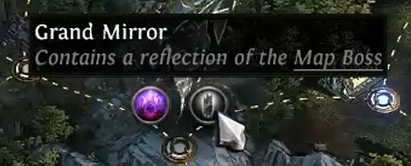
Goal: create a Grand Mirror on a nearby Atlas map.
Enter a Mirror of Delirium, stay inside the moving fog, and kill the Map Boss before the encounter ends. A boss killed inside the fog can cause a Grand Mirror to appear on a nearby map.
Plan the route before touching the mirror. Open layouts and short paths to the boss are safer. Slow maps with heavy backtracking can waste the fog.
Step 2: Activate the Grand Mirror
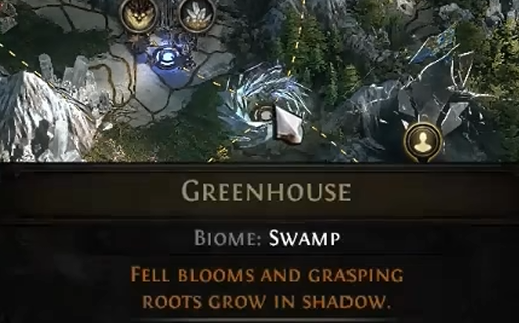
Goal: spread Delirium Fog across a group of Atlas maps.
Run the map containing the Grand Mirror and complete its reflected boss encounter. The mirror then spreads fog over nearby maps.
Maps in the same fog-covered region share Deliriousness progress. Run maps inside that region to raise the shared value. The practical target is 100% Deliriousness or higher.
Step 3: Transform a Map into a Simulacrum
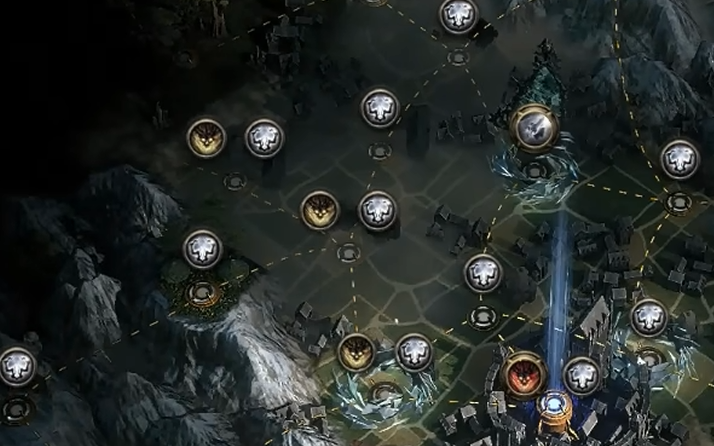
Goal: create the layered Delirium encounter.
At least one map in the fog region can transform into a Simulacrum after the region reaches the required Deliriousness. Delirium maps can also drop Simulacrum Splinters.
Combine the required Splinters into a Simulacrum. Right-click the completed item, then apply it to a map with at least 100% Deliriousness.
Do not apply the item to an unprepared map. The tooltip requires the Deliriousness threshold, and the resulting layers are much harder than normal mapping.
Step 4: Clear the Seven Layers

Goal: finish the Simulacrum and take the rewards your build can support.
The patch 0.5 route shown here uses seven layers. Each layer can add choices that change the encounter or its rewards.
Take boss or reward options only when your build can finish them. Dying late in the run costs more than taking a modest choice and completing the encounter.
Delirium stop rule: save or sell the Simulacrum if your build struggles to kill map bosses inside the fog. The layered encounter will be worse.
Ritual: From Tribute to The Bodach
Step 1: Run Ritual Maps Around Caer Tarth
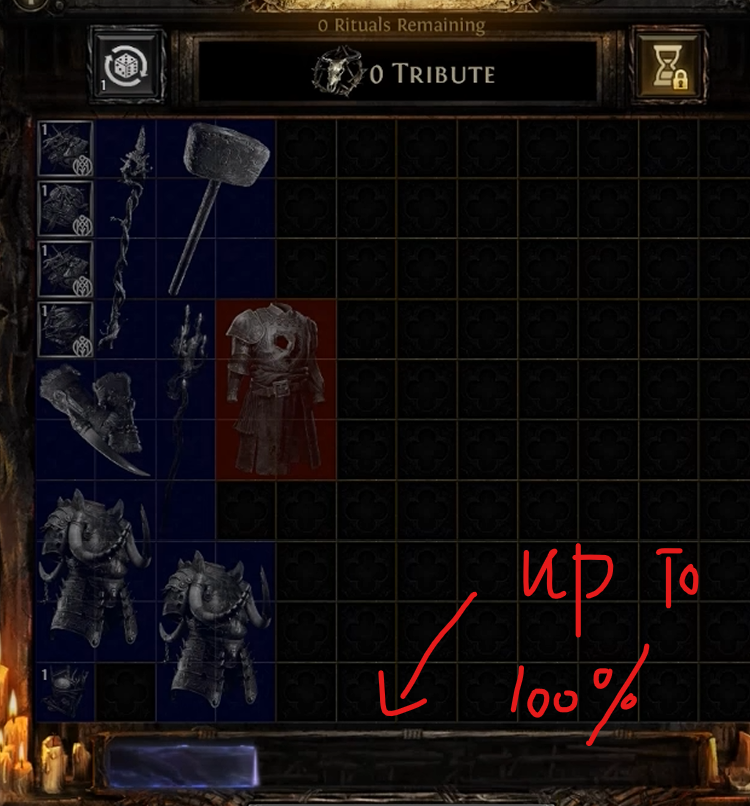
Goal: earn Ritual Atlas progress and build the first boss invitation.
Find Caer Tarth west of the starting Atlas position. Complete maps around it and activate every Ritual Altar.
At the Favour screen, buy useful Omens or Uniques. Defer a valuable item when you cannot afford it. If the remaining choices are weak, offer the unused Tribute to gain progress toward An Audience with the King.
Do not donate Tribute before checking the full Favour screen. The progress is useful, but a strong Omen or Unique can be worth more than a small increase to the bar.
Step 2: Defeat The King in the Mists
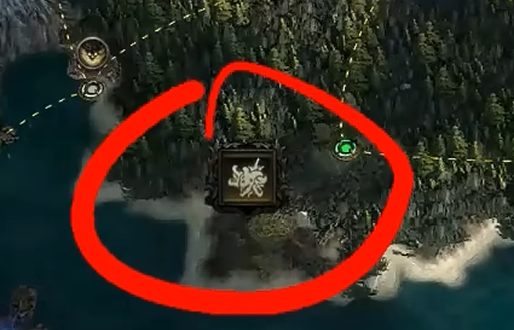
Goal: obtain the item that starts the new Ritual route.
When the progress bar is full, use An Audience with the King through the Realmgate. This opens the Crux of Nothingness and the fight against The King in the Mists.
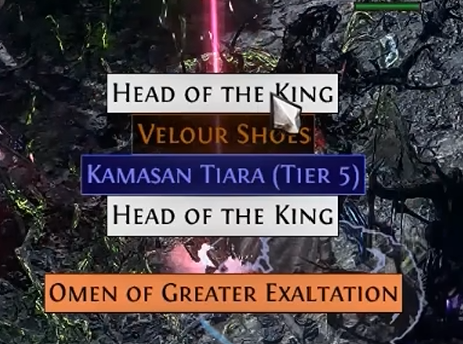
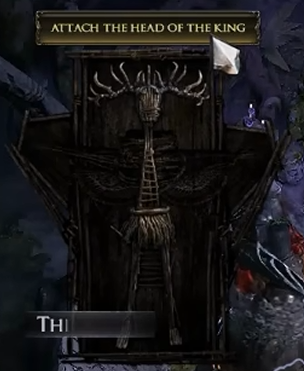
Defeat the King and take the Head of the King to Aoife in Caer Tarth. Use the Head at the effigy to unlock the next stage of the route.
Step 3: Perform the Rite of the Nameless
Goal: complete the continuous five-map Ritual chain.
Start the Rite of the Nameless and choose a sequence of five connected maps. Each map contains Ritual Altars and a Map Boss.
The chain becomes harder as it continues. Monsters from earlier Rituals return in later maps. Map bosses also join the final Ritual in each map.
Choose safe layouts and avoid map modifiers that directly counter your build. A narrow boss arena, weak recovery, or dangerous ground effects can end the whole chain.
Step 4: Fight The Bodach
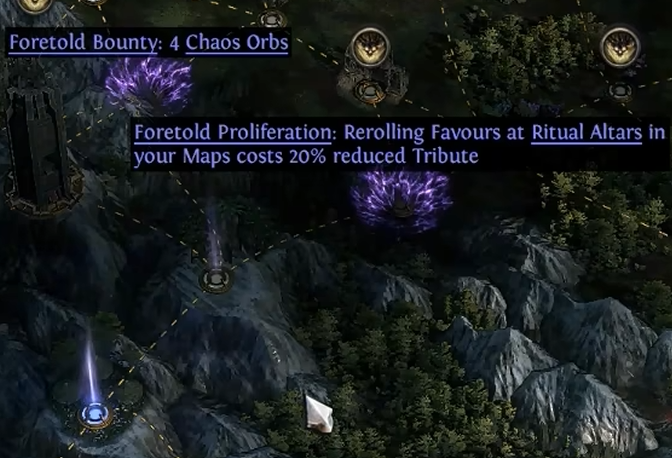
Goal: finish the Ritual pinnacle route.
Completing the Rituals in the Rite can award Call of the Shadows. The item does not assemble automatically. Collect five and attach them to the effigy in Caer Tarth to open the route to The Bodach.
Treat Call of the Shadows as effigy progress, not as a normal map fragment.
Ritual stop rule: sell or save the access items if the final altar of an ordinary Ritual is already dangerous. The Rite carries bosses and monsters forward, so the last maps are much harder.
Breach: From Splinters to Xesht
Step 1: Farm Around the Monastery
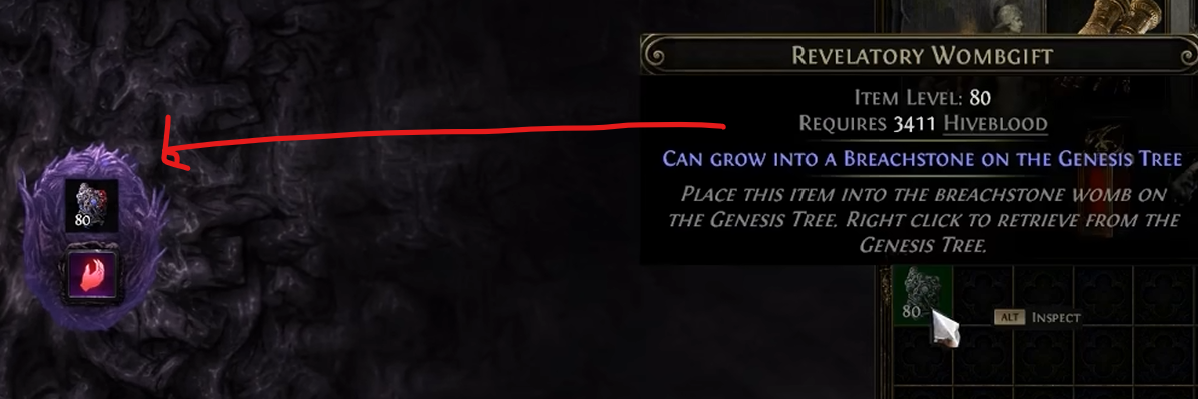
Goal: unlock the Breach region and collect its progression materials.
Find The Monastery of the Keepers south of the starting Atlas position. Run nearby maps and complete Breaches.
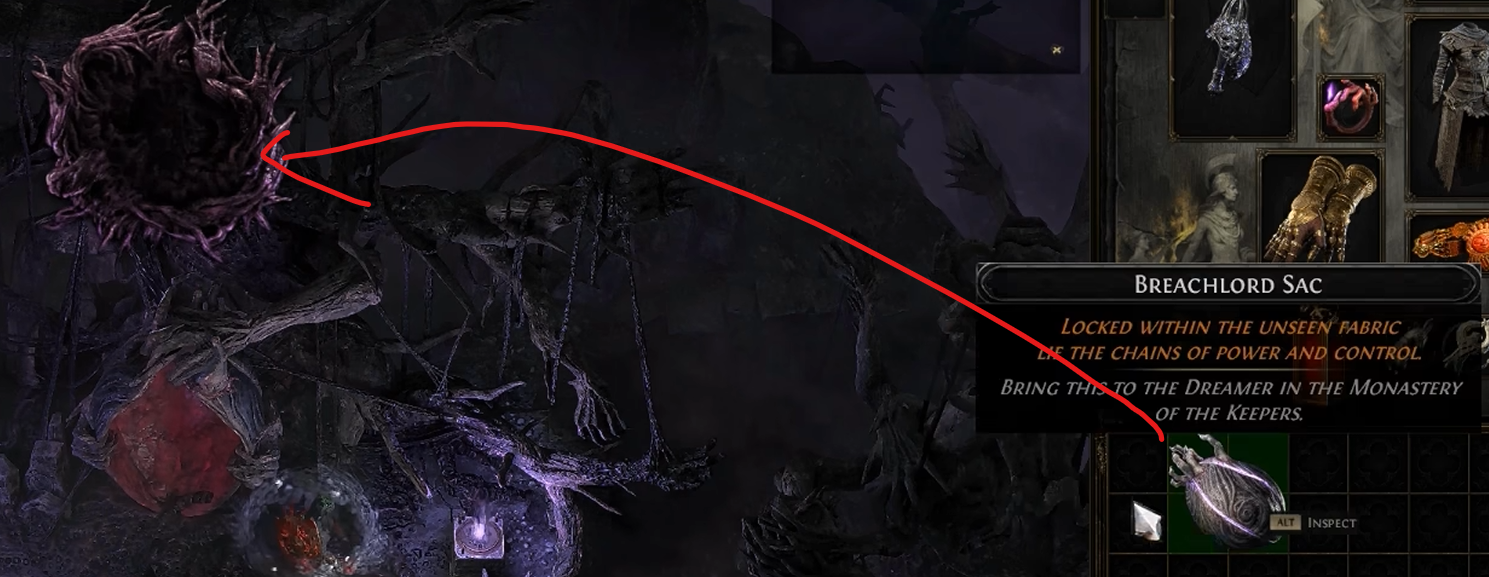
Collect Breach Splinters, Wombgifts, and Hiveblood. Ordinary Wombgifts are used for item or currency outputs at The Genesis Tree. Hiveblood powers those births.
Keep the crafting branch separate from the access branch. The item used to create a Breachstone is a specific Wombgift.
Step 2: Turn Splinters into a Revelatory Wombgift
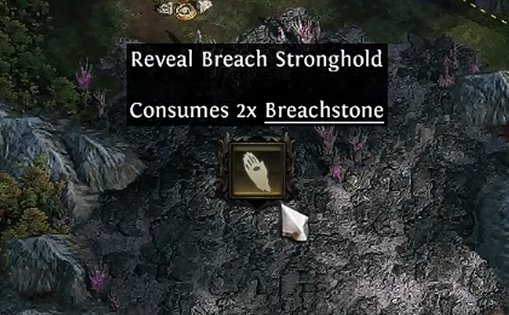
Goal: prepare the Breach Domain access item.
A full stack of Breach Splinters becomes a Revelatory Wombgift. The stack does not directly open a Breach Domain, and it does not automatically become a Breachstone.
If the completed item remains in your inventory, manually move it into the next step. Do not wait for an automatic conversion.
Step 3: Grow the Breachstone
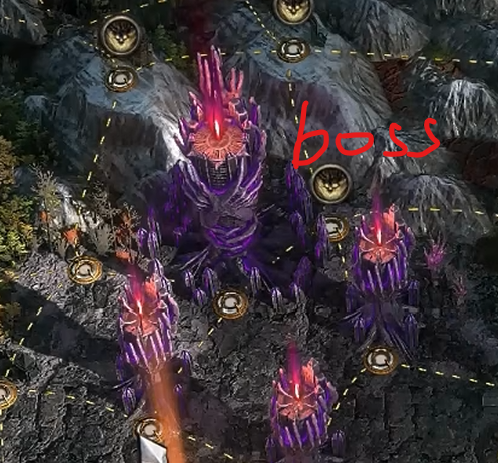
Goal: create the item that reveals the Breach Domain.
Take the Revelatory Wombgift to The Genesis Tree. Place it in the Breachstone Womb, then complete the growth process to create a Breachstone.
Use the Breachstone to reveal maps inside a Breach Domain.
The short version is:
Breach Splinters -> Revelatory Wombgift -> Breachstone Womb -> Breachstone -> Breach Domain
Step 4: Clear Hives and Sky Fortresses
Goal: collect the key progress for the Breach pinnacle boss.
The Domain contains smaller Breach Hives and larger Sky Fortresses. Hive encounters focus on wave defence and survival. Sky Fortresses contain the Breachlords Tul and Esh.
Defeat Tul and Esh to gain the key progress needed for the pinnacle route. Return to the Breach hub and use the completed access item to enter the final Domain.
Step 5: Defeat Xesht
Goal: finish the Breach progression chain.
Enter the pinnacle encounter and defeat Xesht, We That Are One.
Do not confuse this route with the separate Vruun, Marshal of Xesht branch. Vruun can appear in a Stabilised Breach and unlocks the Grasping Orchid through his head. Vruun does not create the Breachstone.
Breach stop rule: save or sell the Breachstone if you cannot consistently clear timed Breaches or protect the encounter NPC during Hive waves.
What to Keep, Use, or Sell
| Item | Use It When | Save or Sell It When |
|---|---|---|
| Simulacrum | You have a map at 100%+ Deliriousness and a strong layered-encounter build | You cannot keep up with fog or kill Delirium bosses safely |
| An Audience with the King | You need Ritual progression and can defeat The King in the Mists | Your build struggles in boss arenas or the current market price is attractive |
| Call of the Shadows | You have five, the effigy is unlocked, and you are ready for The Bodach | You have not completed the Rite unlock or are not ready for the pinnacle fight |
| Revelatory Wombgift | You want to grow a Breachstone at the Breachstone Womb | You do not have access to The Genesis Tree route yet |
| Breachstone | You can clear Hives, Sky Fortresses, Tul, and Esh | Timed Breach content is already unreliable for your build |
Profit and Risk
These routes are progression systems first and farms second.
Delirium rewards fast builds that can stay inside fog and handle layered bosses. Ritual rewards builds that can survive dense altar arenas. Breach rewards clear speed, crowd control, and reliable performance during timed waves.
The main risk is spending an access item before the build is ready. A failed boss attempt can cost more than several ordinary maps.
There is also route risk. The Rite of the Nameless can become dangerous because earlier monsters and bosses return. Delirium can fail when the fog outruns you. Breach Domain progress can stall when Hive or Fortress encounters are not completed.
Summary
For Delirium, kill bosses inside fog, spread the Grand Mirror, build the region to at least 100% Deliriousness, and apply a Simulacrum to a valid map.
For Ritual, convert unused Tribute into An Audience with the King, defeat The King in the Mists, complete the five-map Rite of the Nameless, and use the resulting access path to fight The Bodach.
For Breach, complete the Splinter stack, obtain a Revelatory Wombgift, grow it in the Breachstone Womb, clear the Breach Domain, defeat Tul and Esh, and continue to Xesht.
Learn one loop at a time. If the next stage is beyond your build, sell or save the ticket instead of forcing the attempt.