How to Craft a Budget Archmage Absent Amulet in PoE2
Background
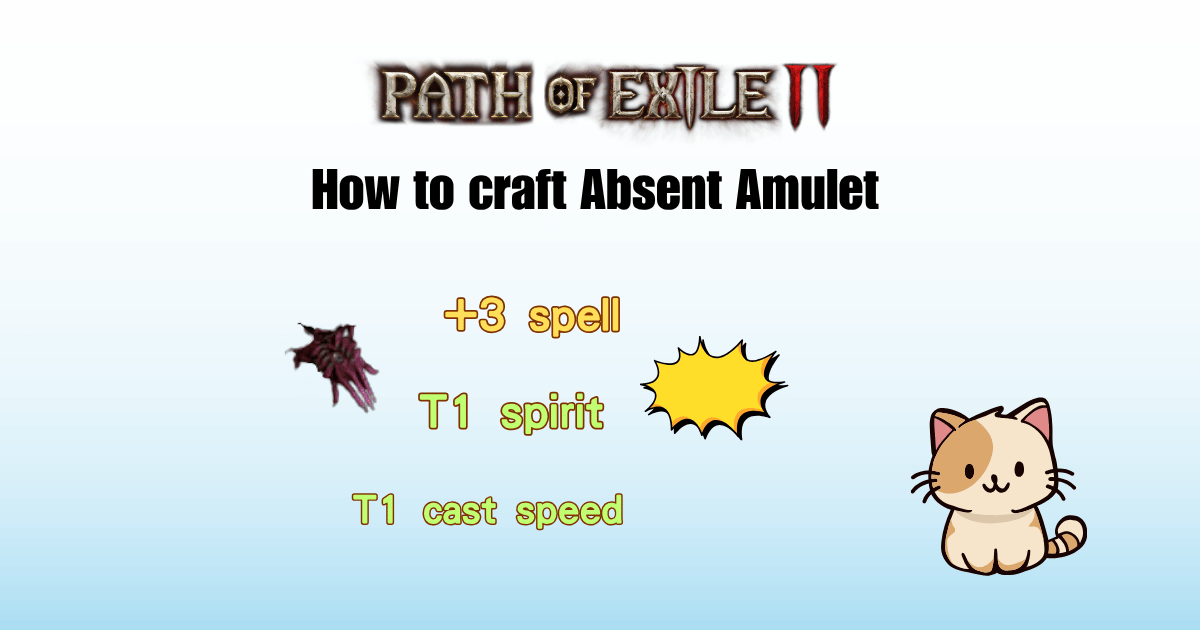
This craft is for mana-stacking caster builds that want an Absent Amulet with protected spell gem levels, high Spirit, and a strong caster finish. The route does not start from a blank base. It starts by buying an amulet that already has +3 to Level of all Spell Skills, then fracturing that modifier before the expensive rolling begins.
The base matters. Absent Amulet can grant different skills. Pick a base with a granted skill your build can actually use. For an Archmage setup, this usually means you care about the Archmage-style mana package first. If you also need another granted skill such as Trinity, check that before you start spending currency.
The important idea is protection. Once +3 to Level of all Spell Skills is fractured, Chaos rerolls and later finishing steps can chase Spirit, Cast Speed, Critical Damage Bonus, and Mana without risking the main modifier.
Why This Craft Matters

Archmage builds scale hard from maximum Mana and gem levels. That is why fractured +3 to Level of all Spell Skills is the first real checkpoint. Spirit is the second checkpoint, because many setups are tight on reservation.
The craft is still not deterministic. Fracturing Orb must lock the right modifier, Chaos must hit high Spirit, and the Greater Exalted step must find a useful T1 or T2 caster suffix. Omen of Whittling helps clean low-level misses, but it does not guarantee the exact suffix.
Crafting Materials
| Icon | Name | Qty | Why You Need It |
|---|---|---|---|
 | Fracturing Orb | 1 or more | Fractures a random modifier. The route needs it to lock +3 to Level of all Spell Skills; if it misses, the base is no longer the intended craft. |
 | Essence of the Breach | 1 or more | Raises the amulet quality setup. The target is 34% quality or higher before the Spirit rolling phase. |
 | Chaos Orb | Many | Rerolls the fractured amulet while keeping the protected +3 modifier. Use it to hit T1 Spirit, ideally 47 or higher. |
 | Greater Exalted Orb | 1 or more | Adds a new modifier with a higher minimum affix level. Use it to fish for T1/T2 increased Critical Damage Bonus or T1/T2 increased Cast Speed. |
 | Omen of Whittling | Optional, repeated | Makes the next Chaos Orb remove the lowest-level modifier. Use it to cut away bad low-tier additions before trying again. |
 | Preserved Collarbone | 1 or more | Desecrates jewellery. Use it at the end to reveal a high maximum Mana modifier if the rest of the amulet is already worth finishing. |
Crafting Workflow
Step 1: Buy the +3 Absent Amulet
Goal: start from the expensive modifier instead of rolling it yourself.
Buy a rare Absent Amulet that already has +3 to Level of all Spell Skills. Also check the granted skill on the base. Absent Amulet can grant different skills, so the amulet should still match the build you are crafting for.
Before buying, make sure the item is eligible for the fracture step. Prefer a rare amulet that already has enough modifiers for Fracturing Orb, so you do not need to add filler before the most important click.
Do not include the base price in the material table when you publish the guide. Track it separately, because the whole route depends on the live spread between the +3 base and the finished amulet.
Why this works: buying the +3 modifier first removes the worst part of the craft. You are paying for a known starting point, then using fracture to protect it.
Step 2: Fracture +3 to Level of all Spell Skills
Goal: lock the spell gem level modifier before rerolling.
Use a Fracturing Orb on the amulet. The desired result is fractured +3 to Level of all Spell Skills. This is random, so check every other modifier on the item before you click.
If the fracture misses, stop the main route. The item may still have resale value, but it is no longer the protected +3 craft. Do not keep spending as if the +3 modifier were safe.
Why this works: a fractured modifier stays on the item through the later rerolls. This lets you use Chaos Orbs for Spirit without deleting the reason the amulet is valuable.
Step 3: Push Quality to 34% or Higher
Goal: improve the quality state before chasing the final rolls.
Use Essence of the Breach to raise the amulet quality setup. The target is 34% quality or higher.
If the current market makes the Essence expensive, check the finished amulet price before continuing. The quality step is part of the target item, but it can still break the margin if the base was overpriced.
Why this works: quality improves the final value of the amulet. The exact effect should be checked against the current patch before claiming a fixed number beyond the 34%+ target.
Step 4: Chaos Roll T1 Spirit
Goal: hit the reservation stat while +3 is protected.
Use Chaos Orb rerolls until the amulet hits T1 Spirit. The practical stop point is 47 Spirit or higher.
Do not stop on low Spirit unless you are making the item for personal use and the rest of your gear can cover the gap. For resale, T1 Spirit is one of the main filters buyers will check.
Why this works: the fractured +3 modifier lets you reroll aggressively. You are spending Chaos Orbs to pair protected spell levels with a high Spirit roll.
Step 5: Add a Caster Suffix with Greater Exalted Orb
Goal: add a valuable damage or speed modifier.
Use a Greater Exalted Orb to add one modifier. You are looking for one of these outcomes:
- T1 or T2
increased Critical Damage Bonus - T1 or T2
increased Cast Speed
If there is no open modifier slot, stop and check whether the item is already sellable. Do not force this step with blind removals unless the expected value still makes sense.
Why this works: Greater Exalted Orb adds a higher-level random modifier. It does not guarantee the exact suffix, but it gives the item a realistic path toward a strong caster finish.
Step 6: Whittle Bad Adds and Try Again
Goal: remove bad low-level additions without giving up the craft.
If the Greater Exalted Orb does not add T1/T2 increased Critical Damage Bonus or T1/T2 increased Cast Speed, use Omen of Whittling with the next Chaos Orb to remove the lowest-level modifier.
After the bad modifier is removed, try the Greater Exalted step again if the item still has room. Repeat only while the cost is lower than starting from another fractured +3 base.
Why this works: Omen of Whittling removes the lowest-level modifier. It helps clean weak outcomes, but it does not pick the next modifier for you.
Step 7: Desecrate for High Mana
Goal: finish the amulet with a strong maximum Mana outcome.
Use the jewellery Desecration step, such as Preserved Collarbone, and reveal the options. The desired finish is a high maximum Mana modifier.
If the Mana option misses, do not overpay for recovery by default. The item should already have fractured +3 to Level of all Spell Skills, 34%+ quality, T1 Spirit, and a good caster suffix before this step. The Desecration finish is where you decide whether the amulet is worth pushing further.
Why this works: Archmage builds value maximum Mana heavily. Adding high Mana at the end turns the amulet from a protected +3 Spirit piece into a much more complete caster item.
Summary
This method is best for players who want a serious Archmage-style Absent Amulet without rolling the +3 modifier from scratch. Buy the +3 to Level of all Spell Skills base, fracture it, use Essence of the Breach for 34%+ quality, then Chaos roll T1 Spirit.
The expensive part is the finishing loop. Greater Exalted Orb and Omen of Whittling can chase T1/T2 increased Critical Damage Bonus or increased Cast Speed, but they do not guarantee it. The final Desecration step should aim for high maximum Mana, and you should stop if the next attempt costs more than restarting from another fractured +3 base.